
Last updated November 15, 2026
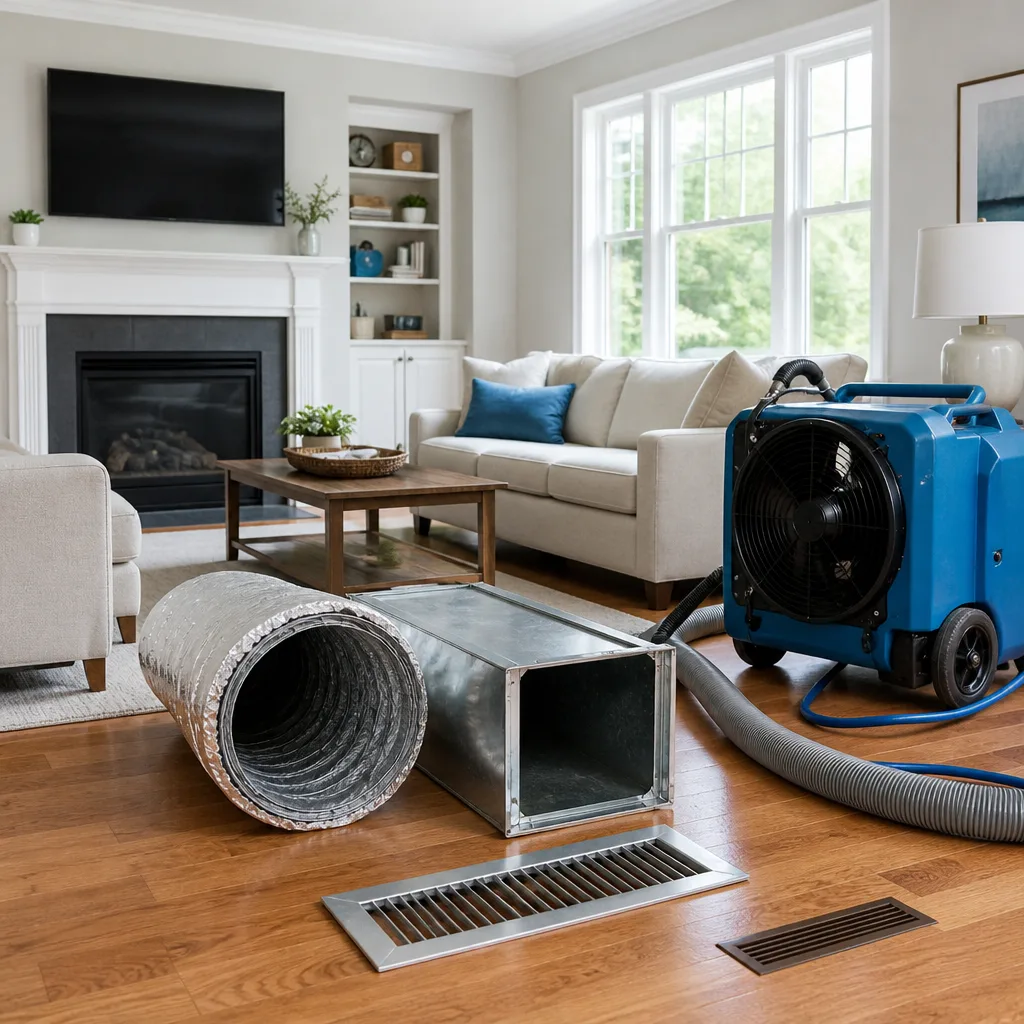 Whole-home duct cleaning
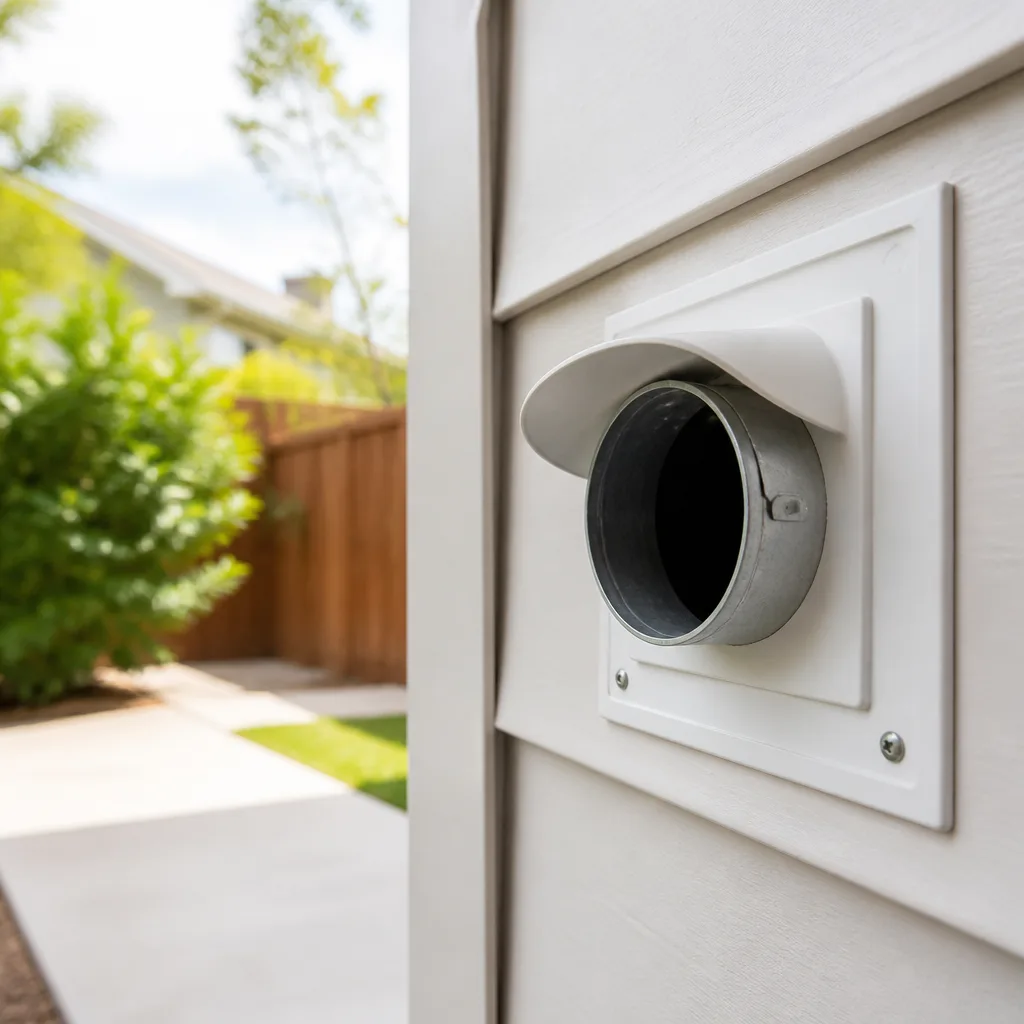 Dryer vent cleaning
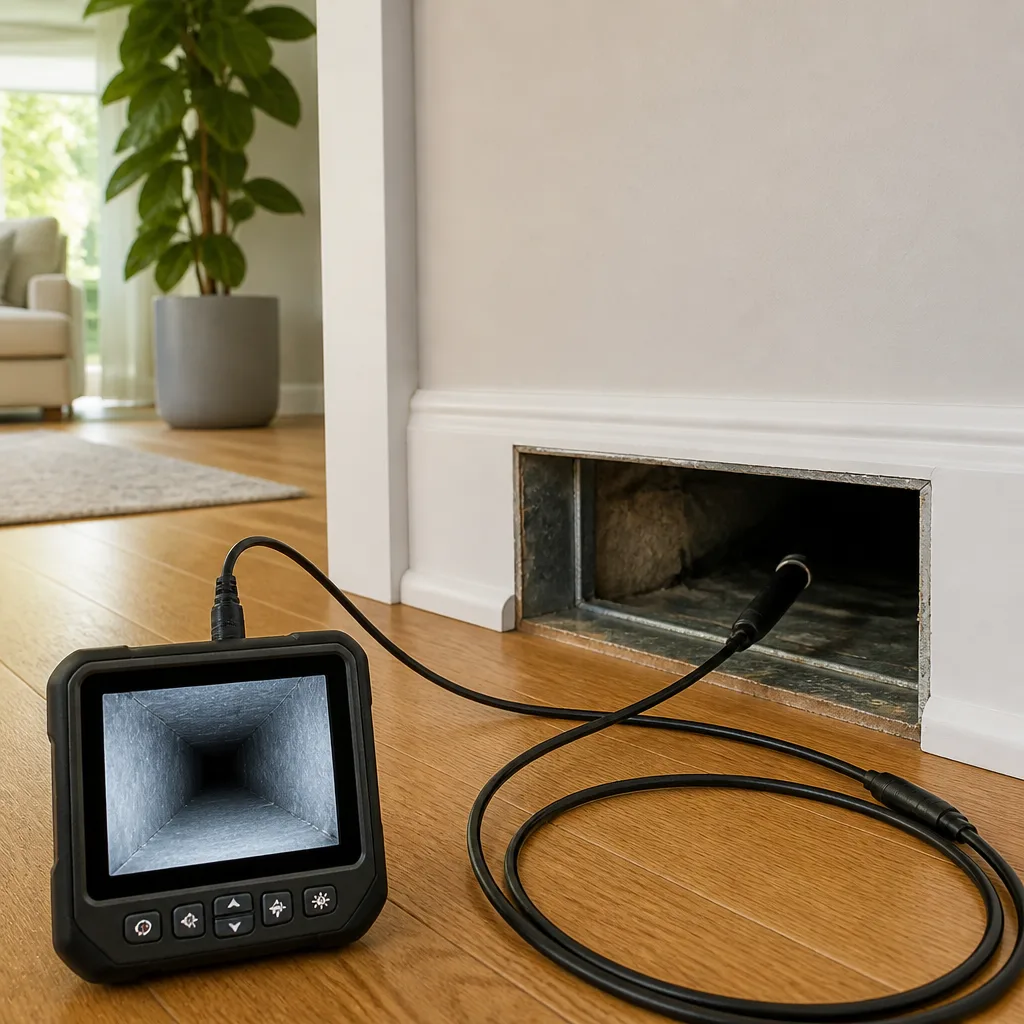 Camera inspection
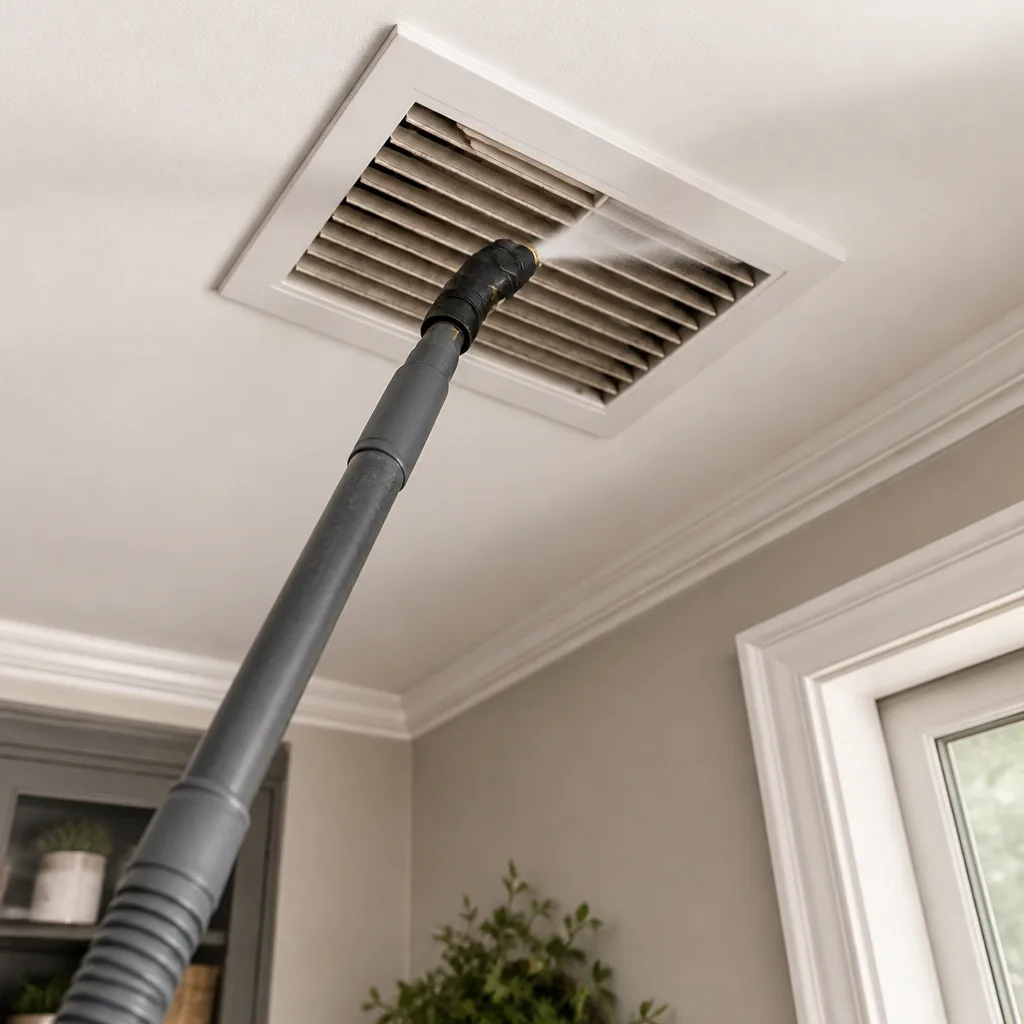 Sanitizing & deodorizing
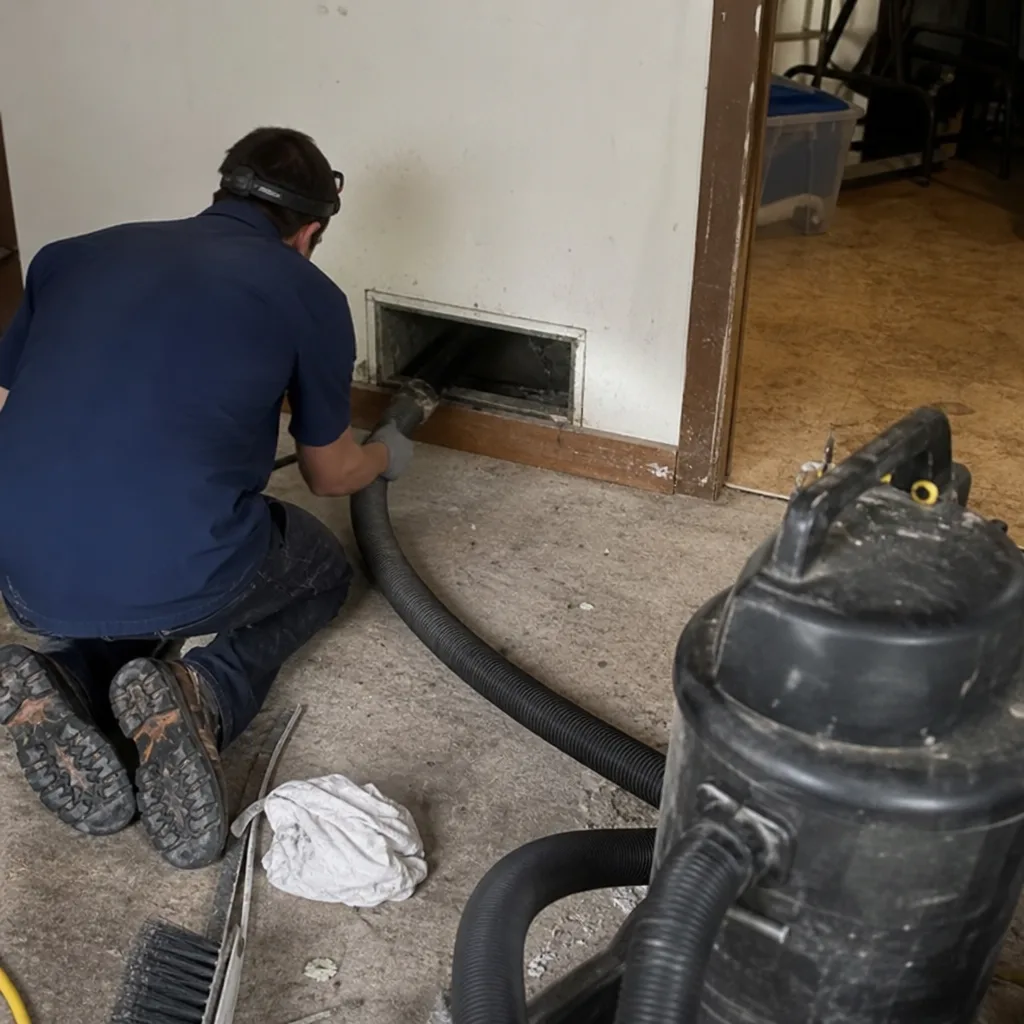
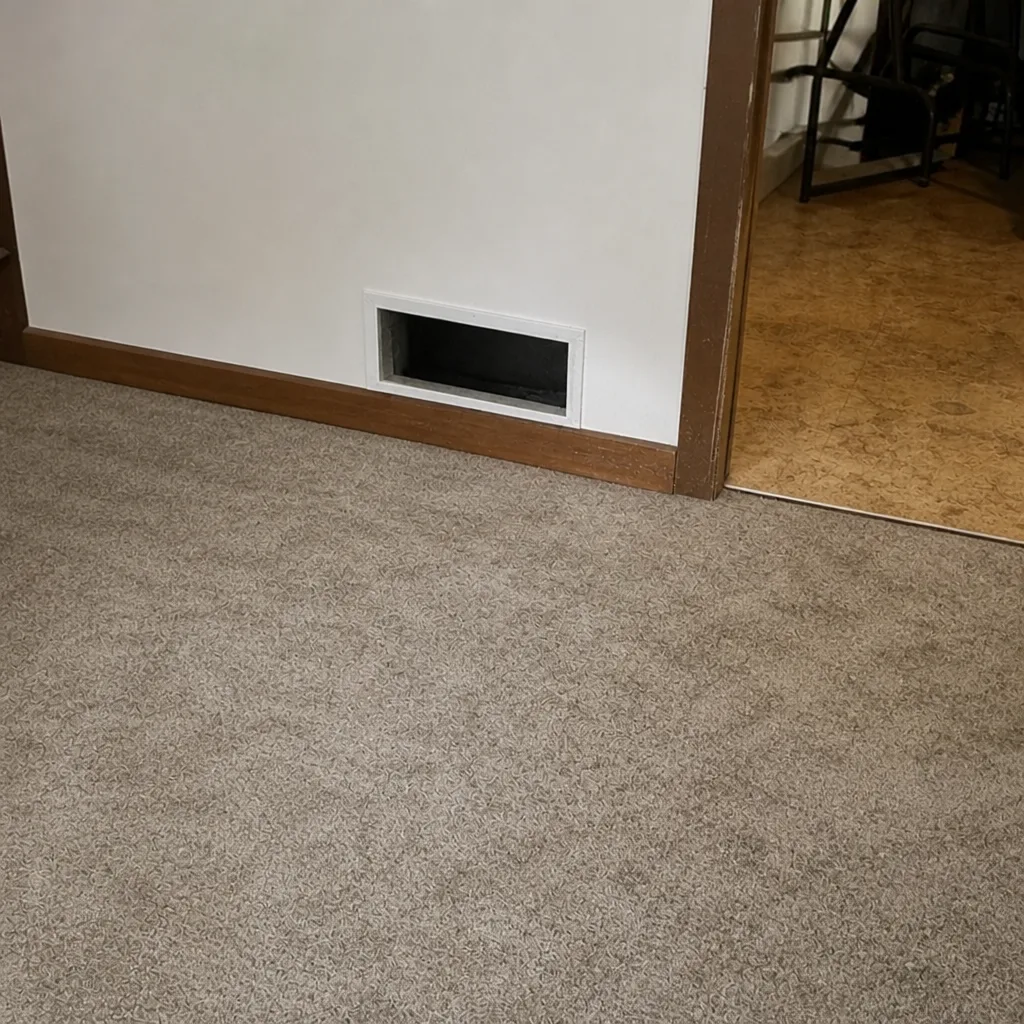
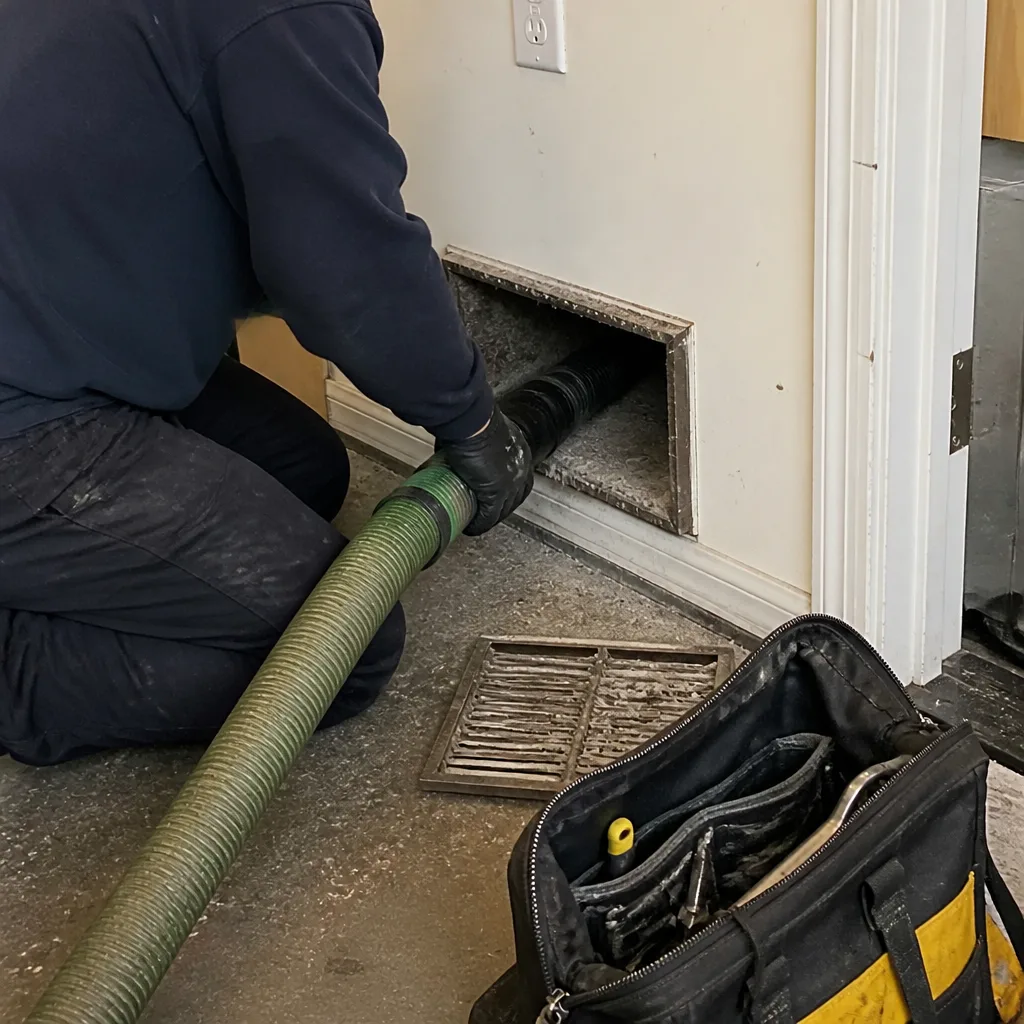
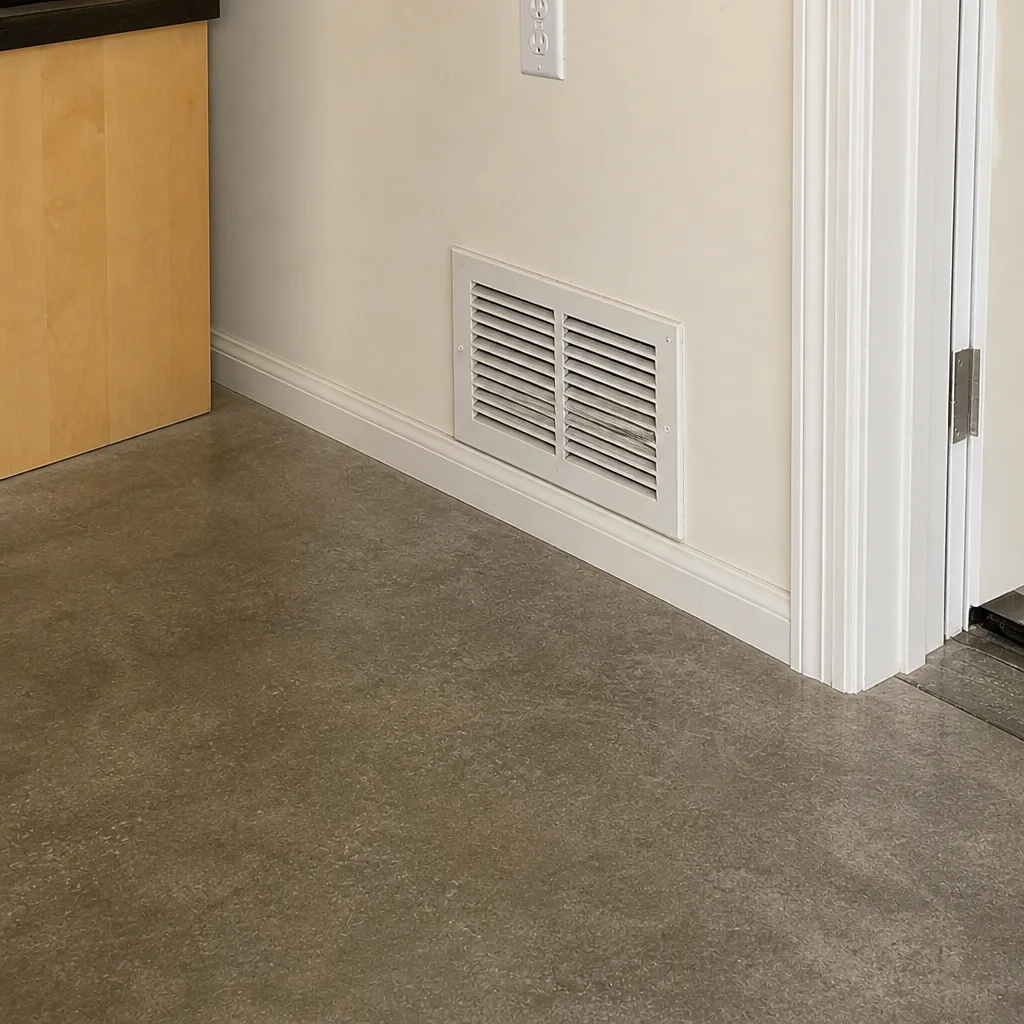
Whole-system duct and dryer vent check with before-and-after photos - you see exactly what came out of your vents
That "$99 whole-house special" is a bait ad - the real number appears once they are in your hallway, or the "clean" is a shop-vac at the register. We photograph the inside of your ducts before and after instead.
Air Duct Cleaning Maintenance Checklist for Renton Homeowners
Filter replacement schedules and annual reminders tell you when time has passed. They don’t tell you whether anything has actually changed inside your ducts. A filter swapped on the first of the month can sit in front of a duct run that’s been quietly losing airflow for a year. Meanwhile a system that’s running clean may get “serviced” on schedule with nothing to show for it. That gap between calendar and evidence is where most duct maintenance goes wrong. This checklist is built around what you can actually see, smell, and measure in your Renton home – not a boxing-day reminder on your phone. You’ll learn how to test airflow at each register, read the odors your system produces, track filter loading through Renton’s wet and smoke seasons, and record the right baseline after a professional cleaning so future inspections have something to compare against.
Styles & brands we work with
- Whole-home duct cleaning
- Dryer vent cleaning
- Camera inspection
- Sanitizing & deodorizing
Quick Answer
A practical air duct maintenance checklist for Renton homeowners has four parts: a register-by-register airflow test you can do with a tissue, an odor check that tells you whether the problem is moisture, dust burn-off, or pests, a seasonal filter weight comparison through Renton’s wet and wildfire-smoke seasons, and a written record of what a professional cleaned and found. You act when a signal appears, not when a calendar says so. Visual checks you can do safely are on you. Anything past the first few feet of duct – and anything that requires opening the system – needs a professional with proper extraction and containment equipment.
Table of Contents
- Why a Calendar Isn’t a Maintenance Plan
- Step 1: The Tissue Test for Register Airflow
- Step 2: Reading Odor Signatures in Your Ducts
- Step 3: Seasonal Filter Weight Checks for Renton’s Climate
- Step 4: What You Can Safely Inspect vs. What Needs a Scope
- Step 5: Recording a Baseline After Professional Cleaning
- Step 6: The Dryer Vent Belongs on the Same Checklist
- Step 7: Reading Your Honeywell or Aprilaire System Correctly
- Common Mistakes to Avoid
- When to Call a Professional
- Frequently Asked Questions
- The Bottom Line
Why a Calendar Isn’t a Maintenance Plan
Duct maintenance advice online almost always leads with frequency: clean every three to five years, replace filters every 90 days, schedule a checkup annually. Those numbers aren’t wrong exactly – they’re just averages pulled from a national dataset and applied to homes that don’t look alike. A 1950s Renton rambler with original galvanized ductwork and a newly installed heat pump has very little in common with a newer build in the Highlands running a sealed flex system and a whole-home Aprilaire setup. The cleaning need is set by what’s happening inside the system, not by the age of the calendar.
What does change the need is local. Renton sits in a wet-temperate climate with a heating season that runs long, which means your ducts are pulling in cool, humid outside air for months at a time. Add wildfire smoke that drifts into the Puget Sound region most summers, and you have two seasonal loads that push different kinds of particulate into the system. Wet-season moisture encourages biological growth on dust that settles on duct walls. Smoke season loads the return side with fine particles that a standard filter catches only partially. Neither of those problems announces itself. They show up as reduced airflow, unusual smells, and a filter that fills faster than the packaging predicts.
That’s why this checklist leads with signals instead of schedules. When a signal appears, you investigate. When the investigation points to duct cleaning or air duct cleaning, you schedule it. When it points to a repair, you repair. When nothing is wrong, you skip the appointment and save the money. That’s the whole logic.
Step 1: The Tissue Test for Register Airflow
The tissue test is the single most useful airflow check a homeowner can do without tools. It won’t tell you why airflow is low – that’s a job for a professional scope – but it will tell you which registers are weak and whether the weakness is a whole-system problem or isolated to one run.
- Pick a calm hour. Turn the system to fan-only mode if you have it, or run heat or cooling at a steady setting. Give the system five minutes to stabilize before you start.
- Hold a single-ply tissue loosely against each supply register. Not pressed flat – just touching. A healthy register will flutter or lift the tissue away. A weak register will let the tissue sag or drop.
- Note which registers flutter, which sag, and which pull the tissue flat against the grille. Flat against the grille usually means strong airflow; sagging means weak airflow; nothing means none.
- Compare across rooms. One weak register in an otherwise strong system points to a partially blocked or collapsed duct run serving that room. Multiple weak registers on the same floor or on the far end of the house points to a main trunk or blower problem.
- Test returns too. A healthy return should pull the tissue toward the grille with obvious force. A weak return starves the system and makes every supply register on that run perform worse.
- Write down the date and the results. A one-line note per register is enough. This is the first entry in the baseline record you’ll build throughout this checklist.
In our experience, a partially blocked run in a Renton home rarely looks like a full blockage at first. The tissue flutters, just weaker than the room next door. That’s the stage where it’s cheapest and easiest to fix – a professional cleaning can often clear a soft blockage without any repair at all. Wait another two heating seasons and the same partial blockage sometimes becomes a collapsed run, which is a repair job, not a cleaning job. Catching it early is the whole point of testing instead of guessing.
One note on how to read the results if you have a zoned system. A zone damper that’s partially stuck can mimic a duct blockage at every register on that zone. If every register on one zone tests weak and every register on another zone tests strong, suspect the damper, not a collapsed run. That’s a professional diagnosis, not a homeowner fix.
Step 2: Reading Odor Signatures in Your Ducts
Your nose is a surprisingly reliable diagnostic tool. Different duct problems produce different odor signatures, and learning to tell them apart saves you from chasing the wrong fix. Smell each register on a cool morning before the system has been running long enough to mask the underlying odor with warm air.
- Musty or damp-earth smell. Moisture in the duct system or a nearby crawl space. Renton’s wet season makes this the most common signature here, and it usually points to a duct run in a damp crawl space, a poorly sealed basement return, or a condensate issue near the air handler. Musty smell plus visible dust buildup on registers is a strong indicator that biological growth has started on duct walls. Worth calling a professional to scope.
- Burning dust smell at the first heat of the season. This is normal, brief, and self-clearing – it’s the dust that settled on the heat exchanger over the summer burning off. If it fades within a few hours of the first heavy heating run, treat it as a signal to clean the filter, not a signal to call anyone.
- Burning dust smell that persists past the first week of heating. Not normal. Persistent burning-dust smell means dust is still being drawn into the heat exchanger faster than normal – usually a filter that’s loaded past the point of effectiveness, or a return restricted by debris. Check the filter first. If the smell continues after a fresh filter, call a professional.
- Acrid, sharp, or “animal” smell. Pest activity. Rodents and insects find their way into duct systems through the same gaps that leak air, and their waste produces an odor that gets pulled through the entire system. Acrid smell plus scratching sounds in the walls near a duct run is the classic pattern. Don’t clean this yourself – a professional cleaning with proper containment equipment is the right answer, and pest control usually needs to be part of the fix.
- Chemical or solvent smell. Usually points to a nearby source (paint, adhesives, new furniture) being drawn into the return rather than a duct problem. Ventilate the house and give it a few days before assuming the ducts are involved.
If you smell more than one signature at once, treat the acrid or musty one as the priority. Both point to conditions that get worse with time, and both are outside the range of what a homeowner can safely address.
Step 3: Seasonal Filter Weight Checks for Renton’s Climate
Filter replacement intervals assume a national average dust load. Renton doesn’t run at the national average. Your filter loads differently depending on the season and the year, and a simple weight comparison tells you which way the trend is going without any instrument.
- Keep a small kitchen scale with your spare filters. A $15 digital scale is enough. You’re comparing weights, not measuring absolute load.
- Weigh a brand-new filter before you install it. Write the weight and the date on the filter’s edge with a marker.
- Weigh the filter when you pull it. The difference is the dust load for that interval.
- Compare across seasons, not against a standard. A filter that gains 60 grams over a wet-season interval is running lighter than a filter that gains 200 grams during a smoke-heavy summer. Both numbers are useful; neither is “correct.”
- Change a filter for real loading, not for elapsed time. Standard 1-inch filters load visibly in a Renton home because the return draws crawl space and garage-adjacent air much of the year. Pleated filters in a Honeywell or Aprilaire cabinet often run longer intervals than the packaging says – check the weight, not the print.
- Reset the trend if you change filter brands or media thickness. A different filter doesn’t compare cleanly against the last one. Start a new line in your record.
Two seasonal patterns show up again and again in Renton homes. In the wet season, filters load more from moisture-clumped particulate – the fine dust actually clings and clusters, so the filter looks heavier than its dust content suggests. During smoke season, the load is mostly fine particulate that the filter catches without much visible buildup at first, so a filter that looks fine can be loaded well past effectiveness. That’s the case where weighing beats looking.
One thing worth knowing: several years of weight records in the same home tells you far more about your system’s real dust load than any interval recommendation ever could. If your numbers start trending higher than they used to, something changed – a return got blocked, a filter cabinet developed a leak, or a duct run developed a gap – and the change is worth investigating. Our technicians have up to 12 years of experience watching exactly that pattern play out, and a steadily rising filter load is one of the more reliable early warnings we see.
Step 4: What You Can Safely Inspect vs. What Needs a Scope
There’s a hard line between what a homeowner can inspect safely and what needs a professional. Knowing where that line sits protects you from injury and protects your system from damage caused by opening panels that were never meant to be opened casually.
Safe for you to inspect:
- Register grilles from the room side: dust buildup, visible debris, bent or clogged louvers.
- The filter slot and filter cabinet, if your system has a clearly accessible door with no tools or one clearly labeled screw.
- The air handler cabinet’s exterior: any streaks, oil spots, or condensation.
- The outside of any exposed ductwork in an unfinished basement or garage: visible gaps, disconnected joints, or crushed flex duct.
- The dryer vent’s exterior termination: lint around the flap and whether the flap opens freely when the dryer runs.
Not safe for you, and not worth attempting:
- Opening the air handler cabinet to look inside. The blower and heat exchanger live in there, and the cabinet is sealed for a reason – particularly on a sealed-combustion furnace or heat pump where the seal affects combustion safety.
- Opening any ductwork past the register boot. Duct joints are taped and sealed; you’ll damage the seal more than you’ll learn.
- Using a homeowner camera on a wire to look down a duct. Standard plumbing cameras aren’t rated for the dust and heat of a duct run, and pushing one down a flex duct can tear the liner.
- Reaching into any return plenum. There’s a fan in there and it doesn’t care whether your hand was invited.
- Pulling the access door off a Honeywell or Aprilaire air cleaner cabinet. These units are designed to be opened by technicians, and the media inside is fragile.
Professional scoping uses purpose-built equipment – a rotary camera on a duct-rated push rod that can navigate flex duct without damaging the liner. A scope inspection in a Renton crawl-space duct run often finds a specific, fixable problem the homeowner had no way of seeing: a disconnected joint at a register boot, a sagging run holding a puddle of condensate, or a run crushed by a floor joist. Those are the findings worth having – not a “your ducts need cleaning” verdict from someone with no camera. If you’ve never had duct cleaning in Renton done, that first scope inspection doubles as your baseline record. Ask for photos of what was found.
Step 5: Recording a Baseline After Professional Cleaning
The value of a professional cleaning isn’t only that the ducts are cleaner afterward. It’s that you get a documented baseline you can compare every future inspection against. A cleaning with no record is a cleaning you’ll have to repeat blind.
After the next professional cleaning in your home, ask for and record the following. A simple note on your phone or a page in a folder is enough. What matters is having the data.
- The date and which service was performed. Duct cleaning, dryer vent cleaning, or repair are different services. Note which one.
- Which duct runs were cleaned and which were not. Not all duct cleaning covers every run. Get a list.
- Before-and-after photos of any duct run the technician flagged. Ask for photos on every job. Take note of which runs the tech thought were most loaded and which he thought were cleanest.
- Any findings that weren’t fixed: a partial blockage that needed a scope, a joint that needed sealing, a flexible run that was crushed. These are future service items.
- The type and location of filters changed during the service. Note the model and the manufacturer’s media grade.
- Your register airflow results, re-tested after cleaning. Run the tissue test the same day the cleaning happens and within the first week. You now have a “cleaned” reading to compare future tests against.
- Any observations about the Honeywell or Aprilaire equipment, if you have it. Technicians trained on those systems often note the condition of the media cabinet, the humidity control, or the bypass arrangement. Ask them to write it down.
Six months later, re-run the tissue test. Twelve months later, re-weigh your filter through a full seasonal cycle. Two years later, look at the before-and-after photos from the last cleaning next to the readings from that day. If the readings are trending weaker or the filter trending heavier, you know something is building up in the system without having to guess. That’s the entire payoff of keeping a record – it turns a vague sense that “the air seems stale” into a specific number you can act on.
Step 6: The Dryer Vent Belongs on the Same Checklist
Dryer vents get left off duct maintenance checklists because they’re a different system. They shouldn’t be. A clogged dryer vent is a documented fire hazard independent of anything in your HVAC ducts, and the same annual rhythm of checks keeps both systems honest.
What you can check yourself: with the dryer running on a low-heat setting, go outside and look at the exterior termination. The flap should open freely and you should feel strong airflow. Lint accumulating around the flap or a flap that flutters weakly both indicate a partial blockage. You can also pull the dryer out and disconnect the flexible connector at the back – this is safe with the power disconnected – and look inside the vent with a flashlight. A small amount of lint is expected. A wall of lint is not.
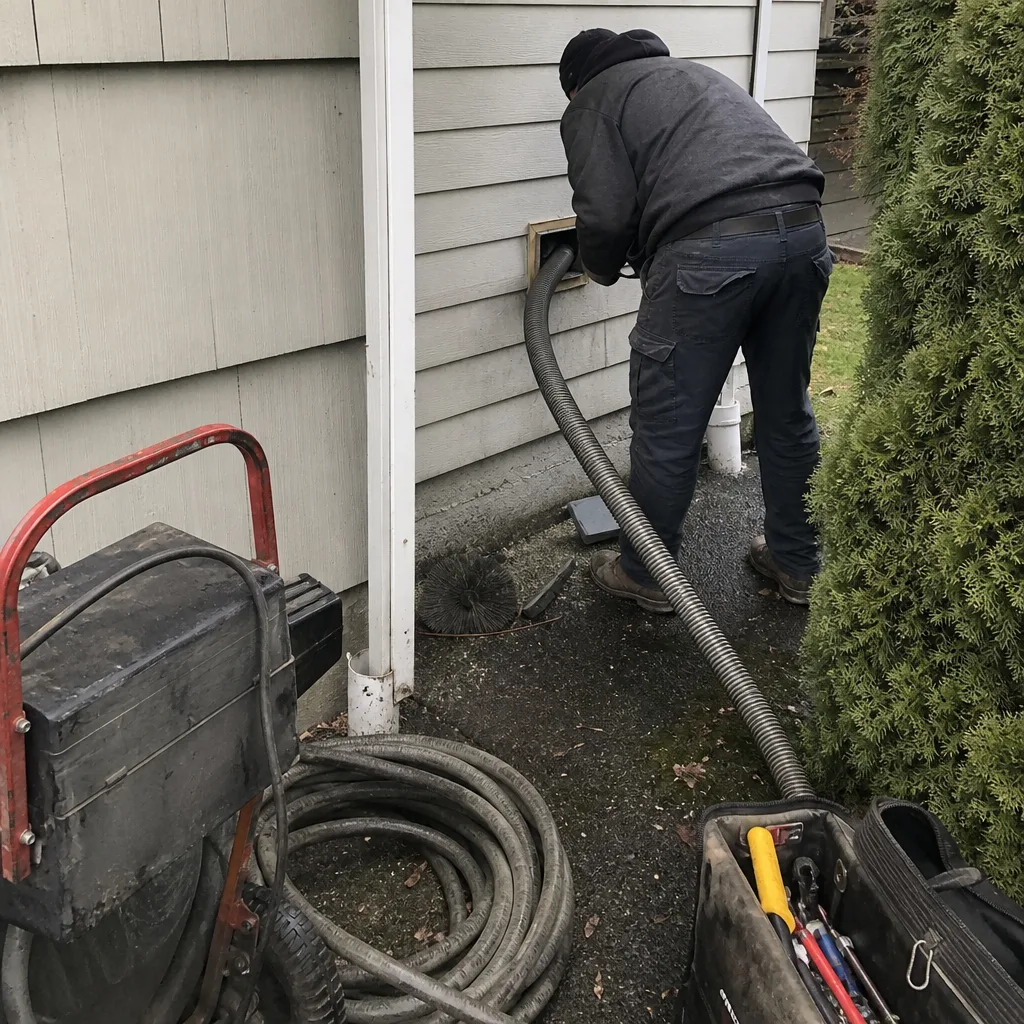
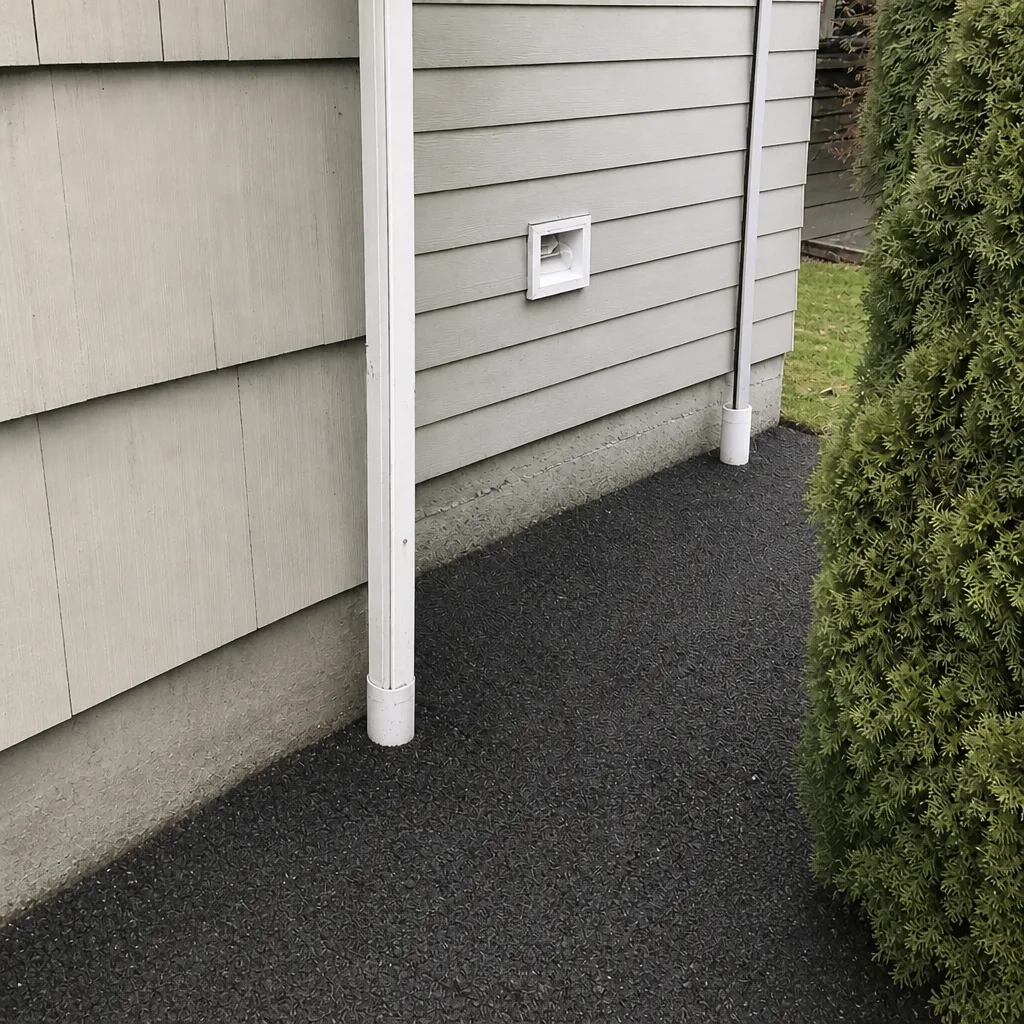
What you can’t clean yourself is what’s inside the wall run. A dryer vent cleaning professional uses a rotating brush on a flexible rod to clear the full length of the vent, pulls the lint out of the termination, and confirms the dryer is exhausting properly afterward. That’s worth doing whenever the flow test shows weakness, and it’s worth doing on a scheduled interval regardless if your dryer runs heavily. It’s a fire-safety service, not an upselling opportunity. If you’ve been quoted a duct cleaning and your dryer vent wasn’t mentioned, ask about it. A professional-grade dryer vent cleaning is the right place to spend money on that problem.
While you’re at it: check that the dryer vent termination on the outside of the house isn’t blocked by anything – a bush, a snow pile, or a nest. Renton-area homeowners routinely find bird nests inside dryer vents in the spring.
Step 7: Reading Your Honeywell or Aprilaire System Correctly
If your home runs a Honeywell or Aprilaire whole-home air quality system, the checklist above applies – but the equipment you’re protecting raises the stakes slightly. Those systems are designed to condition the air inside your ductwork. Their performance depends on the air coming into them being reasonably free of large particulate, which means a dirty duct system pulls against the equipment’s efficiency.
What’s specific to premium air quality systems:
- Media cabinet condition matters. The filter cabinet on a Honeywell or Aprilaire unit is designed for a specific media size and grade. A filter that’s slightly too small or the wrong thickness bypasses air around the edges and lets the whole system run dirty. Check the model number on the cabinet before buying replacement media, not after.
- Humidifier components live inside the duct system. If your home has a Honeywell or Aprilaire humidifier mounted on the supply plenum, the pad inside needs replacing on the manufacturer’s schedule, and the humidity level needs checking once or twice a season. A humidifier pad that’s mineral-clogged stops working without any obvious sign except that the house feels dry.
- UV and filtration components filter differently than duct wall dust. In-duct air cleaners work on what passes through them. They don’t clean duct walls, and duct walls accumulating dust still reduce airflow to the air cleaner. Both matter.
- Bypass and humidification returns get missed. Some Honeywell and Aprilaire systems route a bypass duct that runs parallel to the main trunk. That bypass accumulates dust too, and standard duct cleaning needs to include it. Ask.
Technicians trained on those brands know which components to check and which ones to leave alone. A generic “duct cleaning” service that’s never touched a Honeywell media cabinet can damage the filter clip or install the wrong media. Ask what brand experience the technician has and what equipment they’ll use to clean the system without dislodging the pre-filter components. In our experience, the systems that perform the longest are the ones where the person cleaning understood the equipment as well as the ductwork.
Common Mistakes to Avoid
- Replacing the filter based on the packaging interval alone. Renton’s wet and smoke seasons mean your filter load varies dramatically year-to-year. The packaging interval assumes a national average you don’t live in. Use the weight check and use the return-air path you actually have.
- Using the tissue test as a “clean or dirty” verdict. The tissue test tells you airflow strength, not cleaning need. A duct system with good airflow can still be loaded, and a system with weak airflow can be perfectly clean inside. The tissue test is one of several signals, not a complete answer.
- Scheduling duct cleaning every year on principle. If the tissue test is strong, the filter weight trend is flat, and there’s no odor signature, your ducts don’t need cleaning that year. Spend the money on a scope inspection instead – ten minutes of camera time tells you more than an hour of cleaning you didn’t need.
- Opening the air handler to “check for dust.” That cabinet is sealed for combustion safety and for airflow balance. Opening it to peek inside does more harm than the peek is worth. Use the filter slot and the visible return duct instead.
- Skipping the dryer vent because the dryer still works. A dryer runs fine with a partially blocked vent for a long time before it stops working – and “runs fine” is not the same thing as “safe to run.” The flow test at the termination is the check that matters.
- Hiring the cheapest quote without asking about equipment. A shop vac with a logo on it and a purpose-built Rotobrush rotary brush system are not the same tool. Ask what equipment will be used and whether the service includes containment. The quote should be able to answer both without hesitation.
- Cleaning without recording the result. Every cleaning that isn’t documented is a cleaning you’ll have to re-learn next time. Take the photos, write the airflow readings, note the filter model. The record is half the value.
When to Call a Professional
Never open the duct system yourself, and never try to clean past the register boot with homeowner tools – the tools and containment equipment needed to do it properly are not consumer products. Call a professional if any of these apply: an acrid or musty odor persists past a filter change; you find pest evidence in a return or near a duct wall; the tissue test shows weak airflow at multiple registers on the same run and it hasn’t improved after a fresh filter; your filter weight record shows a rising trend across two consecutive seasons; you’ve just moved into a Renton home and don’t know when the ducts were last cleaned; or your dryer vent flow test shows a weakened exterior termination.
Duct Cleaning Renton offers free estimates in Renton – call (866) 942-6902. We answer 24/7. Fast dispatch from 7am to 7pm, Sunday through Friday. Our technicians use Rotobrush and Nikro professional-grade duct cleaning systems alongside Abatement Technologies air filtration equipment, so containment stays on the whole time – the particulates come out of your ducts and out of the house, not into your living room. If the scope shows a repair rather than a cleanout, we can handle that too; our scope of work runs to duct repair as well as duct cleaning and dryer vent service. Estimates are free and the written estimate sets the price.
Frequently Asked Questions
Most Renton homes need air duct cleaning every three to five years, but frequency should follow signals – airflow test results, odor signatures, and filter weight trends – rather than the calendar alone. A home with strong airflow, flat filter weights, and no odor can often skip a year. A home that just added a smoke-heavy summer or a pest issue may need it sooner. Call (866) 942-6902 for a free estimate and a scope inspection if you’re unsure.
No, not past the register boot. Homeowner vacuum tools can’t generate enough suction to pull dust off duct walls, and pushing a shop vac hose down a flex duct tears the liner. The contained cleaning you actually want – with professional extraction and air filtration equipment – is a professional job. Use the checklist in this guide to determine when it’s time, not to attempt the cleaning.
A musty smell from your vents usually means moisture and biological growth on duct walls, which is a reason to have the system scoped professionally rather than a reason to panic. It can worsen over time and often spreads to nearby returns. Call (866) 942-6902 to schedule an inspection – a technician can scope the run and tell you what’s actually growing and why.
A filter that loads visibly in weeks usually means the return is drawing dusty or humid air – often a return that runs through a crawl space, garage, or a leaky flex duct run. Some loading is normal in Renton’s wet/temperate climate because the system pulls humid outside air for months. Rapid loading is a signal to have the return side scoped. Call (866) 942-6902 for a free estimate.
Dryer vent cleaning is a separate service on its own schedule, but it belongs on the same checklist. A clogged dryer vent is a documented fire hazard independent of anything in your HVAC ducts, and it doesn’t announce itself until the dryer starts taking longer cycles. Check the exterior termination flap whenever you do your register airflow test. Call (866) 942-6902 for a free dryer vent cleaning estimate.
A professional-grade system uses a rotary brush (Rotobrush) to mechanically agitate dust off duct walls while HEPA-rated vacuum equipment (Nikro) captures it, with Abatement Technologies air scrubbers containing anything that gets airborne during the job. A shop vac has no rotary agitation, limited HEPA capture, and no containment. The visible difference is what comes out of your ducts and what stays in your living room. Call (866) 942-6902 for a free estimate.
The Bottom Line
A duct maintenance checklist for a Renton home isn’t about meeting a cleaning schedule – it’s about building evidence. Test the tissue at each register once a season. Learn the four odor signatures and act on the acrid and musty ones directly. Weigh your filter on the same kitchen scale through a full year so you have a comparison point. Do the safe visual checks yourself and leave the air handler and duct interior to a professional scope. Record the results of a professional cleaning so future inspections have a baseline. When the evidence says the system is clean, save the money. When it says otherwise, call a professional. Call (866) 942-6902 for a free estimate anywhere in Renton, and we’ll help you read what your system is actually telling you.
Written by the team at Duct Cleaning Renton.
See the difference
 Before
 After
 Before
 After
 Before
 After